How to Reduce Image Size for Online Forms and Applications
Learn how to reduce image size for online forms and applications without unnecessary quality loss. Follow simple steps and use an online Image Compressor.
Read guide →Large image files can slow down websites, take longer to upload, and use more storage than necessary. At the same time, nobody wants blurry photos or pixelated graphics after compression. The good news is that you can compress images without losing quality by choosing the right method and understanding how image compression works.
The key is finding a balance between reducing file size and maintaining visual clarity. Whether you're optimizing images for a website, sharing photos online, sending images by email, or saving storage space, the right approach can make a noticeable difference.
This guide explains what image compression is, how it works, when to use different compression methods, and the best practices for preserving image quality. You'll also learn how an online Image Compressor can simplify the process without requiring advanced editing software.
Whether you're storing personal photos or managing hundreds of website images, reducing file sizes helps save valuable storage space.
Smaller files are generally easier to organize, transfer, and back up, particularly when working with multiple images.
One of the biggest misconceptions is that every image compression method permanently ruins image quality.
In reality, there are two main approaches.
Lossless compression reduces file size without removing image information.
Advantages include:
The trade-off is that file size reductions are usually more modest.
Lossy compression removes some image information to achieve greater file size reduction.
When applied carefully, the difference is often difficult to notice.
Benefits include:
However, excessive compression can introduce visible artifacts such as:
The goal is to compress enough to reduce file size without making these changes noticeable.
Follow these practical steps to achieve the best results.
Different image formats serve different purposes.
JPEG
Best for:
JPEG files are excellent for reducing file size while maintaining acceptable visual quality.
PNG
Best for:
PNG typically uses lossless compression and is better suited for images requiring sharp edges.
WebP
WebP often provides smaller file sizes than JPEG or PNG while maintaining comparable visual quality. It is commonly used for modern websites where supported.
Every time a lossy image is compressed again, additional quality may be lost.
Instead:
One of the easiest ways to reduce file size is by lowering image dimensions.
For example:
Reducing image dimensions before compression often provides significant file size savings while preserving excellent visual quality.
Avoid selecting the strongest compression settings simply to achieve the smallest file.
Instead:
Finding the right balance usually produces better long-term results than maximizing compression.
Always inspect important areas such as:
These details often reveal compression artifacts before other parts of the image.
For many users, an online tool is the quickest way to reduce image file size without installing additional software.
The Image Compressor by ImageEaseTools provides a straightforward way to compress images for everyday use. It can be a practical option when you simply want to reduce image size before uploading, sharing, or organizing your files.
Before downloading the compressed image, compare the result with the original to make sure it still meets your quality expectations. Different images respond differently to compression, so a quick visual check is always worthwhile.
Always save the original image separately.
This gives you the flexibility to create different optimized versions later without repeatedly compressing the same file.
Different situations require different levels of compression.
For example:
| Use Case | Recommended Approach |
|---|---|
| Website images | Moderate compression with good visual quality |
| Social media | Moderate compression after resizing |
| Professional printing | Minimal or lossless compression |
| Logos | Lossless compression |
| Screenshots | PNG or another lossless format |
Editing a compressed image multiple times and saving it repeatedly may gradually reduce image quality.
If additional edits are needed, return to the original image whenever possible.
Not every image should receive identical compression settings.
A detailed landscape photo and a simple logo have very different characteristics. Reviewing each image individually helps maintain better overall quality.
Rather than uploading very large images and relying on a platform to resize them automatically, optimize them yourself first.
This gives you more control over the final appearance and file size.
Although it is often possible to reduce image file size while maintaining excellent visual quality, there are situations where noticeable quality loss is difficult to avoid.
Images with fine textures, intricate patterns, or detailed backgrounds contain more visual information. Compressing these files too aggressively may soften details or create visible artifacts.
If an image has already been compressed or optimized, there may be little room for further size reduction without affecting quality.
Trying to reduce an image from several megabytes to only a few kilobytes usually requires heavy compression. At that point, some loss of sharpness or color accuracy is likely.
Printed materials often require high-resolution images. While moderate compression can still be useful, preserving the highest possible quality should take priority over achieving the smallest file size.
Understanding when and how to compress images becomes easier with real-world scenarios.
You have several high-resolution photos from a camera that are each around 5 MB. Since your blog displays images at a maximum width of 1,200 pixels, you first resize them to the appropriate dimensions and then apply moderate compression. The result is much smaller files that still appear crisp on the page.
Instead of sending dozens of full-size images through email, you compress them to reduce the total attachment size. The photos remain visually appealing while uploading and downloading more quickly.
An online store needs product photos that look sharp while loading efficiently. By compressing each image carefully, customers can view products without long loading times, while image quality remains suitable for shopping.
Even with the right tools, a few common mistakes can reduce image quality more than necessary.
Each additional round of lossy compression can reduce quality further. Always start from the original file when creating a new optimized version.
Reducing dimensions before compression often produces better results than relying on compression alone.
A logo saved as JPEG may appear blurry around the edges, while a large photograph saved as PNG can produce an unnecessarily large file. Select the format that best matches the image type.
The smallest possible file size is not always the best choice. Moderate compression usually provides a better balance between quality and file size.
Always inspect the compressed image before using it. Zoom in on text, faces, or detailed areas to ensure the quality still meets your needs.
Learning how to compress images without losing quality is about making informed choices rather than simply aiming for the smallest possible file. Selecting the right image format, resizing when appropriate, using moderate compression, and reviewing the final result can significantly reduce file size while maintaining excellent visual quality.
Whether you're preparing images for a website, sharing photos with friends, or organizing your digital library, thoughtful image optimization helps you balance quality and efficiency.
If you're ready to reduce image file sizes, try the Image Compressor by ImageEaseTools as a convenient way to optimize your images. Compare the compressed version with the original and choose the result that best suits your needs.
Yes, in many cases. Lossless compression preserves image data, while carefully applied lossy compression can reduce file size with little or no visible difference for most viewers.
It depends on the image. JPEG is generally suitable for photographs, PNG works well for graphics and transparent images, and WebP often offers an efficient balance between quality and file size.
Not necessarily. Compression reduces file size, while resizing changes image dimensions. You can compress an image without changing its resolution, although resizing is another effective way to reduce file size when appropriate.
Yes. Optimized images can reduce page weight and improve the overall browsing experience. Compressing images before uploading them is considered a good practice for many websites.
Yes. Keeping the original allows you to create new optimized versions later without repeatedly compressing the same file.
Yes. If you want a simple way to reduce image file size, you can use the Image Compressor from ImageEaseTools as part of your image optimization workflow. After compression, review the result to ensure it meets your quality requirements.
Learn how to reduce image size for online forms and applications without unnecessary quality loss. Follow simple steps and use an online Image Compressor.
Read guide →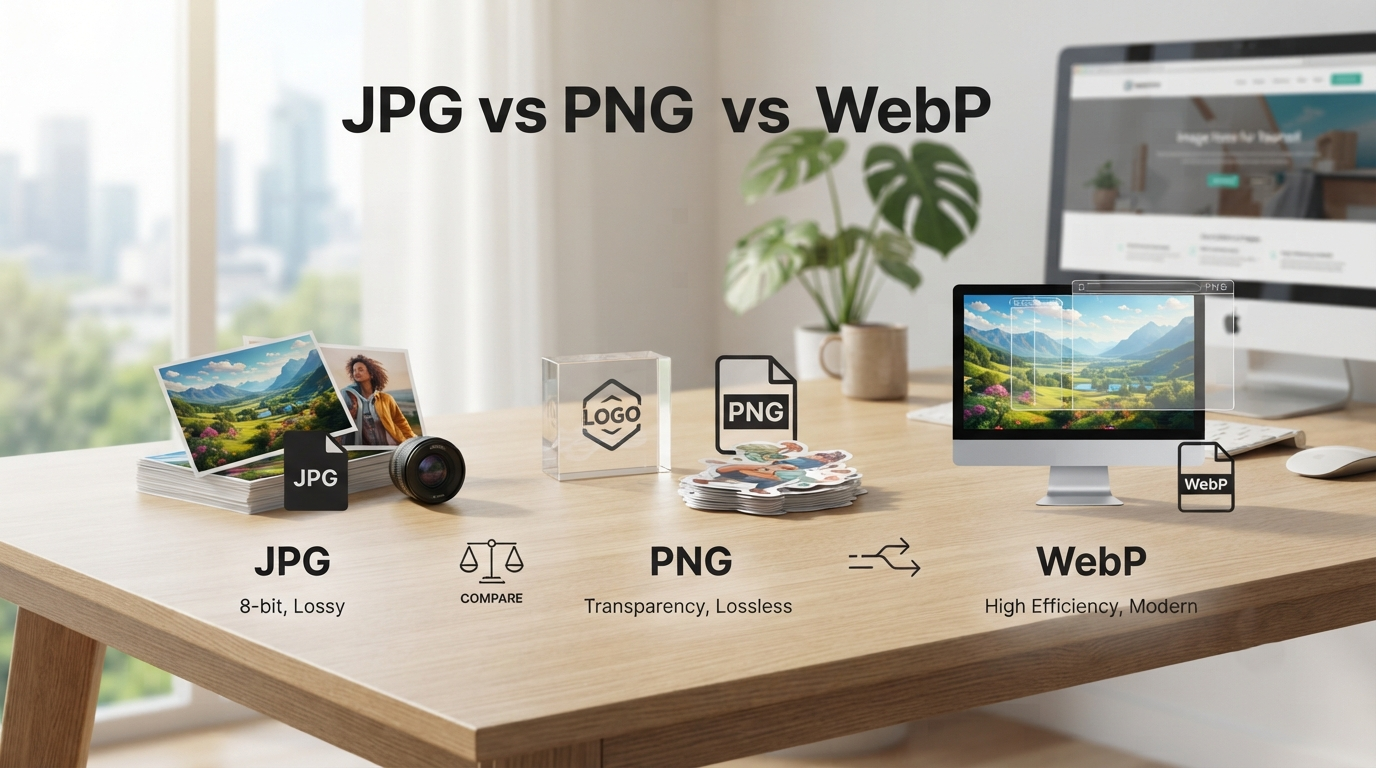
Compare JPG, PNG, and WebP image formats to learn which is best for photos, graphics, transparency, and web performance.
Read guide →
Learn why your image file is too large, what causes oversized images, and practical ways to reduce file size without unnecessary quality loss.
Read guide →