How to Compress Images Without Losing Quality
Learn how to compress images without losing quality using the best tools and techniques. Improve website speed, SEO, and user experience effortlessly.
Read guide →Many online forms ask you to upload a photo, ID, certificate, or supporting document, but the upload fails because the image file is too large. Whether you're applying for a job, submitting a government application, registering for an exam, or completing a college admission form, file size limits are a common requirement.
The simplest solution is to reduce image size for online forms before uploading the file. Compressing an image decreases its file size while keeping it clear enough for its intended purpose. This helps meet upload limits without changing the content of the image.
In this guide, you'll learn why image size matters, when compression is necessary, how to reduce image size step by step, and practical tips to achieve better results. You'll also discover how an online Image Compressor can make the process easier whenever you need to prepare images for online submissions.
Most websites limit the size of uploaded files to manage storage, improve upload performance, and ensure applications are processed efficiently.
You may encounter image size requirements when submitting:
Some forms specify a maximum upload size such as:
If your image exceeds the limit, the upload may fail or the website may display an error asking you to choose a smaller file.
Instead of retaking the photo, compressing the existing image is often the quickest solution.
Image compression reduces the amount of data stored in an image file, resulting in a smaller file size.
Depending on the image format and compression method, this may involve removing unnecessary image data while keeping the picture visually acceptable for viewing or uploading.
The goal is simple:
For most online forms, you don't need a high-resolution image designed for printing. A well-compressed image is usually sufficient for digital submission.
Reducing image size isn't only about passing upload limits. It also provides several practical benefits.
Smaller files generally take less time to upload, especially on slower internet connections.
Many submission systems automatically reject files that exceed their maximum size. Compressing images beforehand helps avoid repeated upload attempts.
Keeping image files smaller makes them easier to organize and share across devices when needed.
If you need to send supporting documents by email after submitting an application, smaller images are often easier to attach.
Compressing an image is useful in many everyday situations.
Consider reducing image size when uploading:
For example, imagine you're applying for a university scholarship. The application portal only accepts images up to 500 KB, but your scanned certificate is 2 MB. Compressing the image can help reduce its size enough to meet the requirement without needing to scan it again.
The process is straightforward and usually takes only a few minutes.
Before editing the image, read the upload instructions carefully.
Look for details such as:
Knowing these requirements helps you avoid compressing more than necessary.
Select the exact image required for the application.
Examples include:
If possible, use the original image instead of repeatedly compressing an already compressed copy, as multiple rounds of compression may gradually reduce visual quality.
An online image compression tool offers a simple way to reduce file size without installing additional software.
For example, you can use the Image Compressor from ImageEaseTools to prepare images for online forms and applications. Upload your image, adjust the available compression options if needed, and download the compressed version for submission.
After compression, compare the new file size with the upload limit to ensure it meets the form's requirements.
Never upload a compressed image without checking it first.
Open the image and verify that:
If the quality is no longer suitable, repeat the process using lighter compression until you find a better balance between file size and readability.
Once you're satisfied with the image quality and file size, return to the online form and upload the compressed version.
If the upload is accepted, you're ready to continue with the rest of your application.
Compression works differently depending on the file format you're using.
JPEG is one of the most common formats for photographs and scanned documents. It often provides a good balance between image quality and file size, making it suitable for many online forms.
PNG is commonly used for graphics, screenshots, signatures, and images with transparent backgrounds. Depending on the image content, PNG files can sometimes be larger than JPEG files.
Some websites accept additional formats, while others only allow JPG or PNG uploads. Always check the form's instructions before converting or uploading your files.
The smallest possible file isn't always the best choice.
Over-compressing an image may make text difficult to read or reduce important visual details, which can lead to rejected submissions.
Aim for a balance where:
This balance helps ensure your uploaded files remain usable without exceeding the platform's limits.
Compressing an image is simple, but following a few best practices can help you achieve better results while avoiding unnecessary issues.
Every website has its own requirements. Before compressing an image, check whether the form specifies:
Compressing an image without knowing these requirements may mean repeating the process later.
Always save a copy of the original image before making changes.
If the compressed version doesn't meet the upload requirements or loses too much quality, you'll have the original available to create a better version.
A smaller file isn't always better.
If the upload limit is 500 KB and your image is already 480 KB after compression, there's usually no benefit in trying to reduce it further. Excessive compression may only reduce clarity.
This is especially important for:
Zoom in and confirm that names, dates, signatures, numbers, and other important details remain easy to read.
Although compression solves many upload problems, it isn't the answer in every situation.
For example, compression alone may not help if:
Some websites specify both a maximum file size and required dimensions, such as 600 × 600 pixels.
If your image exceeds those dimensions, you may need to resize it before uploading.
A form may accept only JPG or PNG files. If your image is in another format, you'll need to convert it before submission.
Compression cannot improve an image that was already out of focus or poorly scanned.
If important information isn't readable in the original file, it's usually better to retake the photo or create a new scan.
Some application portals require:
Compression helps reduce file size but doesn't change these requirements.
Imagine you're applying for a government service online.
The portal accepts:
Your passport photo is 1.4 MB, so the upload is rejected.
Instead of taking another photo, you compress the image using the Image Compressor from ImageEaseTools. After reviewing the compressed version to ensure your face remains clear, you upload the new file successfully because it now meets the size requirement.
This simple workflow can save time whenever an online form has strict upload limits.
Avoiding these common mistakes can help prevent upload errors and ensure your documents remain readable.
Each round of compression may reduce image quality further. Whenever possible, start with the original image instead of compressing an already compressed copy.
Different websites have different requirements. Always check the allowed file size, format, and dimensions before preparing your image.
Trying to achieve the smallest possible file size may make text, signatures, or faces difficult to recognize.
Never assume the compressed image is suitable. Open it and verify that all important details are still visible.
If you create multiple versions of the same image, make sure you're uploading the compressed file that meets the form's requirements.
A few extra habits can make preparing images for online applications much easier.
Having an image rejected because it exceeds a file size limit can interrupt an otherwise straightforward application process. Fortunately, it's usually easy to reduce image size for online forms by compressing the image while maintaining enough clarity for the intended purpose.
Before uploading, check the website's requirements, compress only as much as necessary, and review the final image to ensure important details remain visible. These simple steps can help you avoid upload errors and complete applications with confidence.
If you need a convenient way to prepare images for online submissions, try the Image Compressor from ImageEaseTools. It can help you reduce image file sizes so your photos and documents are ready for online forms and applications.
Use moderate compression and review the final image before uploading. The goal is to reduce the file size while keeping important details such as text, signatures, and faces clear.
No. Image compression reduces the file size, but the visible content of the image remains the same. However, very high compression levels may reduce visual quality.
Many online forms accept JPG or PNG images. The correct format depends on the website's requirements, so always check the instructions before uploading.
The website may also have restrictions on image dimensions or file format. If compression alone doesn't reduce the size enough, you may need to resize the image or use a different format if the website allows it.
Yes. Certificates, ID cards, utility bills, and other scanned documents can often be compressed before uploading, provided the text remains easy to read.
If you need to prepare images for uploads, the Image Compressor from ImageEaseTools provides a simple way to reduce image file size before submitting online forms.
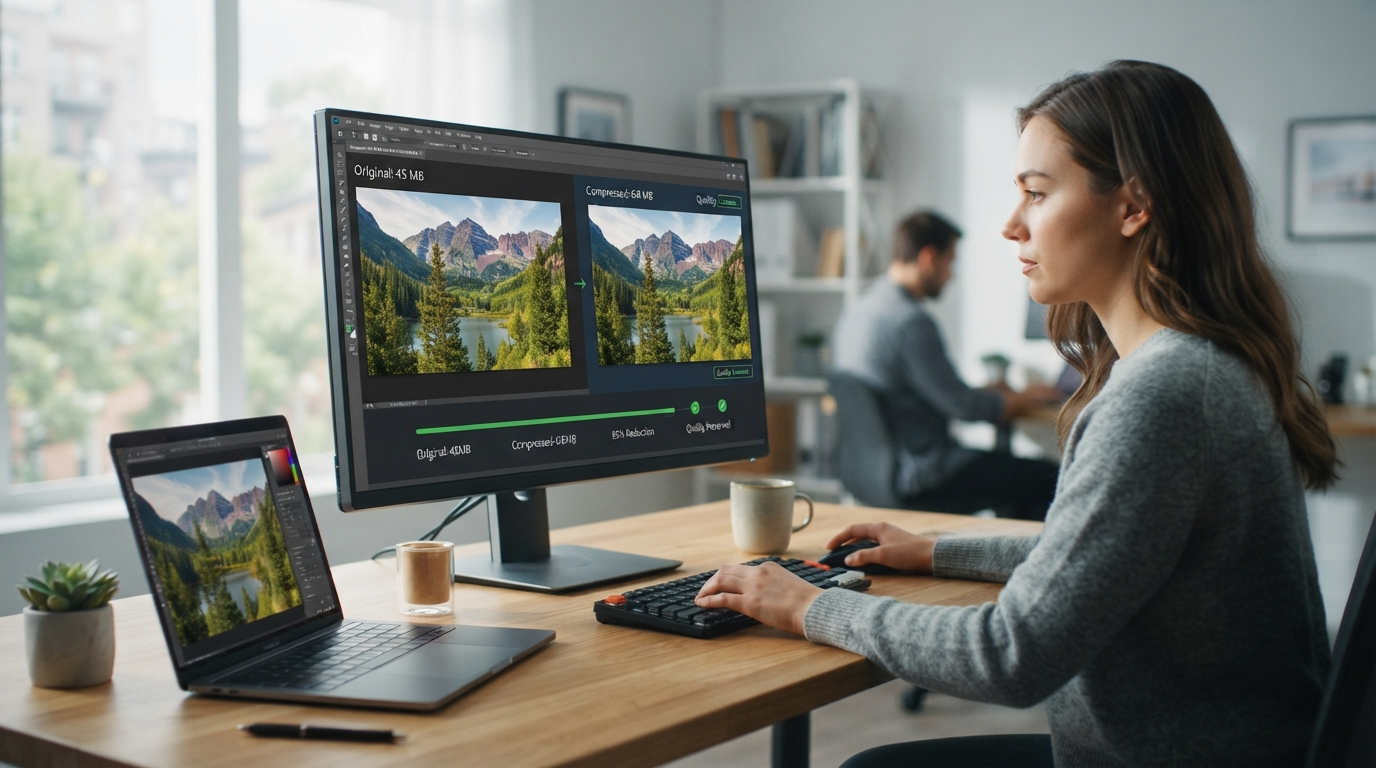
Learn how to compress images without losing quality using the best tools and techniques. Improve website speed, SEO, and user experience effortlessly.
Read guide →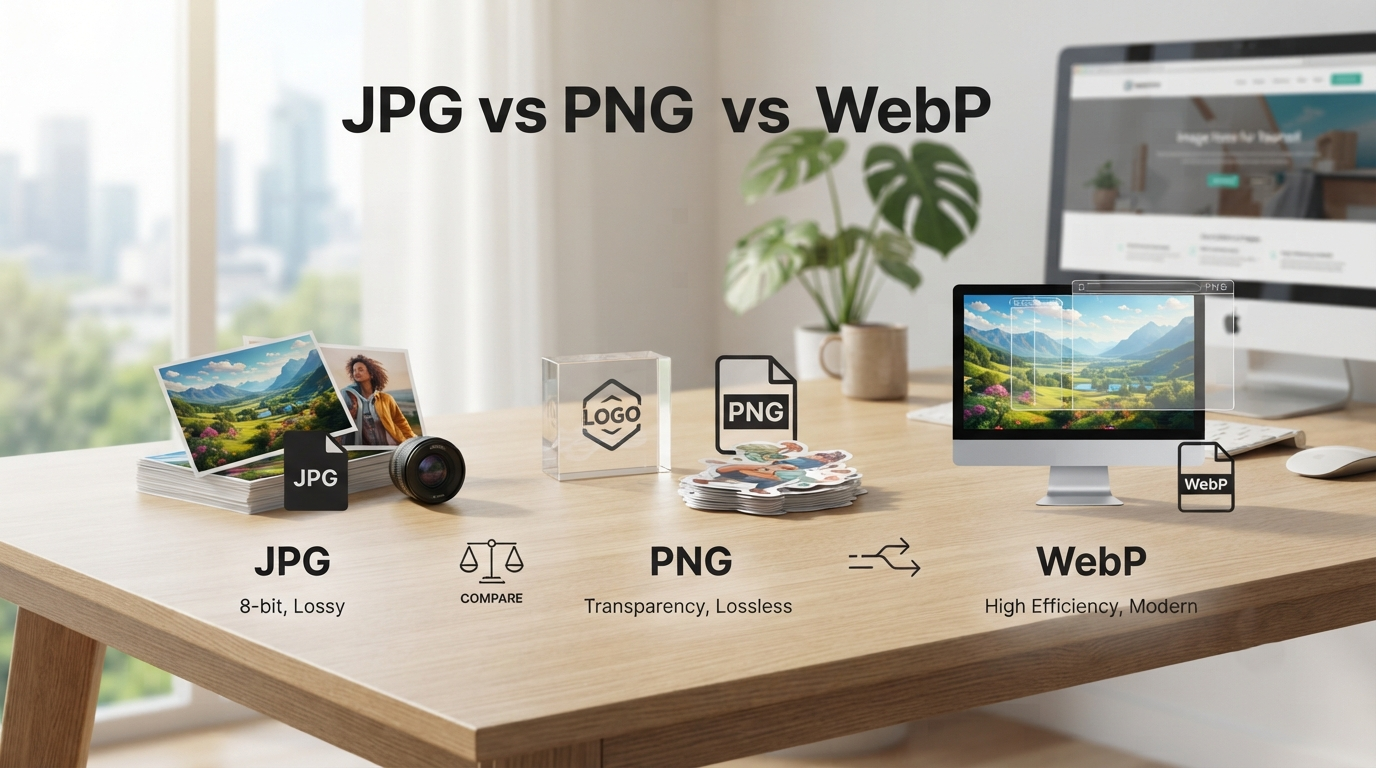
Compare JPG, PNG, and WebP image formats to learn which is best for photos, graphics, transparency, and web performance.
Read guide →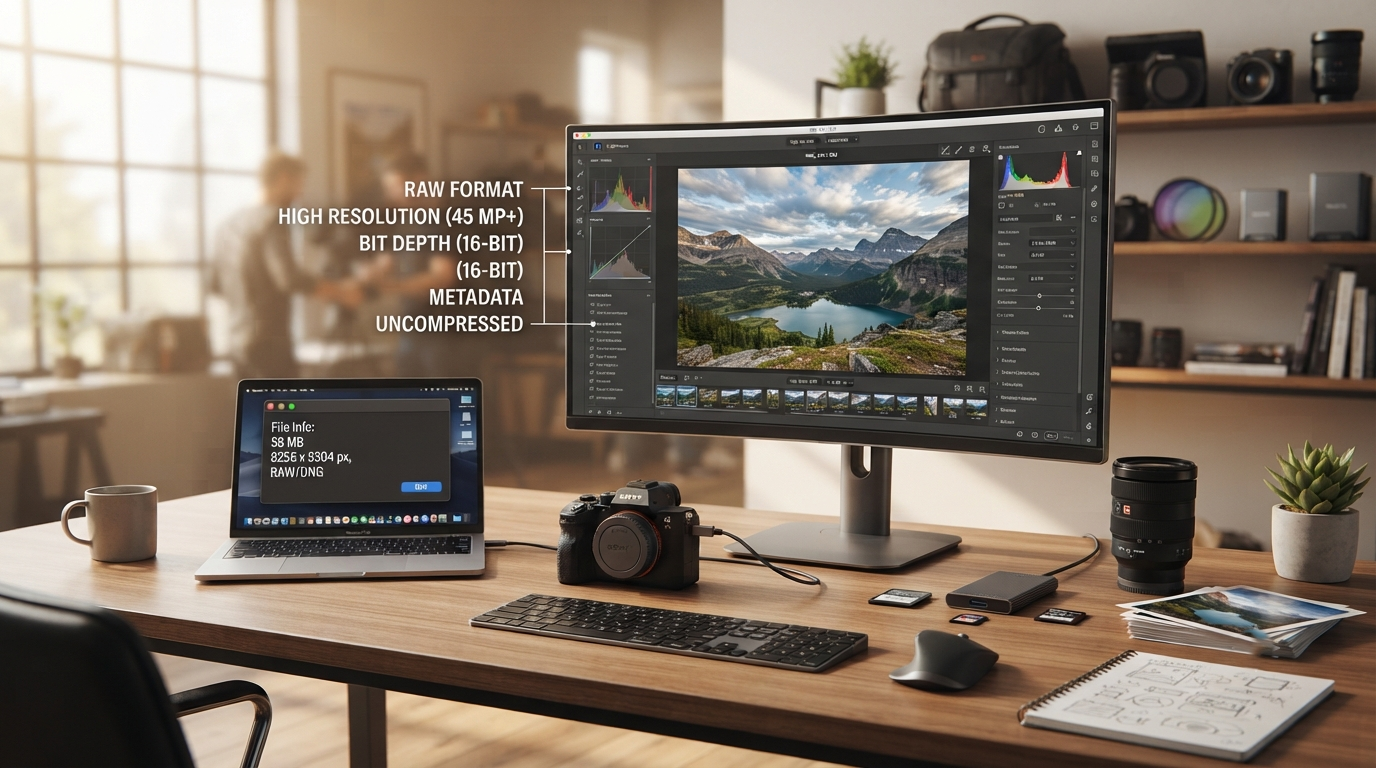
Learn why your image file is too large, what causes oversized images, and practical ways to reduce file size without unnecessary quality loss.
Read guide →