How to Reduce Image Size for Online Forms and Applications
Learn how to reduce image size for online forms and applications without unnecessary quality loss. Follow simple steps and use an online Image Compressor.
Read guide →If you've ever tried to upload a photo only to see a "file too large" error, you're not alone. Large image files are a common issue whether you're sending email attachments, uploading pictures to a website, or sharing images on social media. Understanding why your image file is too large is the first step toward solving the problem.
Several factors affect image file size, including image dimensions, resolution, file format, compression settings, and the amount of visual detail contained in the picture. Sometimes a photo looks perfectly normal but still takes up far more storage space than expected.
This guide explains the most common reasons image files become oversized, how each factor affects file size, and what you can do to reduce it without making unnecessary compromises. You'll also learn when using an image compression tool makes sense and what limitations to keep in mind.
Large image files aren't always a problem, but they can create challenges in many everyday situations.
You may encounter issues such as:
Understanding what makes an image large helps you choose the right solution instead of simply lowering quality without knowing why.
One of the biggest contributors to file size is image resolution.
Resolution refers to the number of pixels contained in an image. A photo measuring 6000 × 4000 pixels contains far more image data than one measuring 1200 × 800 pixels.
More pixels mean:
This is especially common with photos taken by modern smartphones and digital cameras, which often capture images at very high resolutions by default.
If you're only sharing an image online, you may not need such a large resolution.
People often confuse dimensions with file size.
Dimensions describe an image's width and height in pixels, while file size refers to how much storage the image occupies.
For example:
As dimensions increase, the amount of information stored also increases, resulting in larger files.
If an image will only appear in a small space—such as a blog post, profile picture, or product thumbnail—using extremely large dimensions usually provides little practical benefit.
Different image formats store information differently.
Some formats prioritize image quality, while others prioritize smaller file sizes.
For example:
Choosing the wrong format for your intended use can significantly increase file size.
A detailed photograph saved as a PNG, for instance, may be much larger than the same image saved as a JPEG.
Compression removes unnecessary image data to reduce file size.
If little or no compression has been applied, your image may remain much larger than necessary.
This doesn't automatically mean the image is better. In many cases, moderate compression creates a noticeably smaller file while maintaining acceptable visual quality for everyday use.
If your image is difficult to upload because of its size, using a reliable Image Compressor can be a practical way to reduce the file size before sharing or publishing it.
Many cameras and smartphones allow users to capture images at maximum quality.
While this is useful for professional editing or printing, it also produces significantly larger files.
You may notice this when:
Unless you need every available detail, lower capture settings may be sufficient for everyday use.
Not all images compress equally.
A simple graphic with a solid background usually compresses much more efficiently than a detailed landscape filled with trees, textures, shadows, and fine patterns.
For example:
A company logo with only three colors may occupy very little storage.
A forest photograph containing millions of unique details naturally requires much more data to represent accurately.
This explains why two images with identical dimensions can have noticeably different file sizes.
Editing software may change the way an image is stored.
Cropping, adding filters, adjusting colors, or exporting at different quality settings can all influence the final file size.
Sometimes an edited image becomes larger simply because it was exported using higher quality settings than the original.
Before exporting, review the available options carefully to avoid creating files that are unnecessarily large.
Why Metadata Can Increase File Size
Images often contain more than just visual information. They may also include metadata, which stores details about the file itself. Depending on the device or software used, metadata can include:
Although metadata is usually much smaller than the image itself, it can contribute to the overall file size. If you don't need this information for sharing or publishing, exporting the image without unnecessary metadata can help reduce the file size slightly.
If your image is too large to upload, email, or store efficiently, there are several ways to reduce its size without making unnecessary compromises.
Reducing the image dimensions is often the most effective way to decrease file size.
For example:
If an image is only displayed at 1200 pixels wide, there's usually no benefit in keeping a version that's 5000 pixels wide.
Different image formats suit different purposes.
Selecting the appropriate format can reduce file size without changing the image content.
Image compression reduces file size by removing unnecessary data or optimizing how the image is stored.
If you need a smaller file for uploading, emailing, or sharing, you can use the Image Compressor on ImageEaseTools to reduce the image size before using it. It offers a straightforward way to prepare images for common online tasks without requiring advanced editing software.
Many image editors allow you to choose the quality level when saving an image.
Instead of always exporting at the highest quality, choose a setting that matches the intended use. For images viewed on websites or social media, a slightly lower quality setting is often sufficient while producing a noticeably smaller file.
Always compare the exported image visually before replacing the original.
Before resizing or compressing an image:
This ensures you still have the highest-quality version available if you need it later for printing or editing.
Smaller files are convenient, but reducing file size isn't always the right choice.
You may want to keep the original image if you plan to:
In these situations, it's often better to create a separate compressed copy for online use while keeping the original untouched.
Many people try to reduce image file size quickly but end up creating new problems. Here are some common mistakes and how to avoid them.
Repeatedly compressing an already compressed image can gradually reduce visual quality. Whenever possible, start with the original file.
Saving every image as PNG or every image as JPEG isn't always the best approach. Match the format to the type of image and its intended use.
Making an image extremely small may save storage space, but it can also make the image unsuitable for websites, presentations, or printing.
Always keep the original version. If you later need a higher-quality copy, you won't be able to recover the lost detail from an optimized version.
Some websites specify maximum file sizes or recommended image dimensions. Checking these requirements first can save time and help you avoid multiple rounds of editing.
product-photo-web.jpg, to distinguish them from originals.
If you've been wondering why your image file is too large, the answer usually comes down to one or more factors: high resolution, large dimensions, the chosen file format, limited compression, or detailed image content. Understanding these causes makes it easier to choose the right solution instead of reducing quality unnecessarily.
For most everyday tasks—such as uploading images, sharing them by email, or publishing them online—a combination of resizing, choosing the appropriate file format, and compressing the image can produce a more manageable file.
When you need to prepare images for online use, the Image Compressor on ImageEaseTools offers a simple way to reduce image file size as part of your workflow. Keep your original files, optimize copies for sharing, and choose the method that best fits your needs.
A photo may appear normal while still having very high dimensions, resolution, or minimal compression. These factors increase file size even if the image looks the same on screen.
In most cases, yes. Higher-resolution images contain more pixels, which generally results in larger file sizes.
There isn't a single format that's always the smallest. JPEG is commonly suitable for photographs, while WebP often provides efficient compression. The best choice depends on the image and how it will be used.
Not necessarily. Moderate compression can often reduce file size while keeping the image visually suitable for everyday online use. The amount of quality change depends on the compression level and the image itself.
Many websites limit file size, image dimensions, or accepted formats. Checking these requirements and reducing the file size if needed can often resolve the issue.
Yes. Compression or exporting the image with different quality settings may reduce file size while keeping the same dimensions, although the results vary depending on the image.
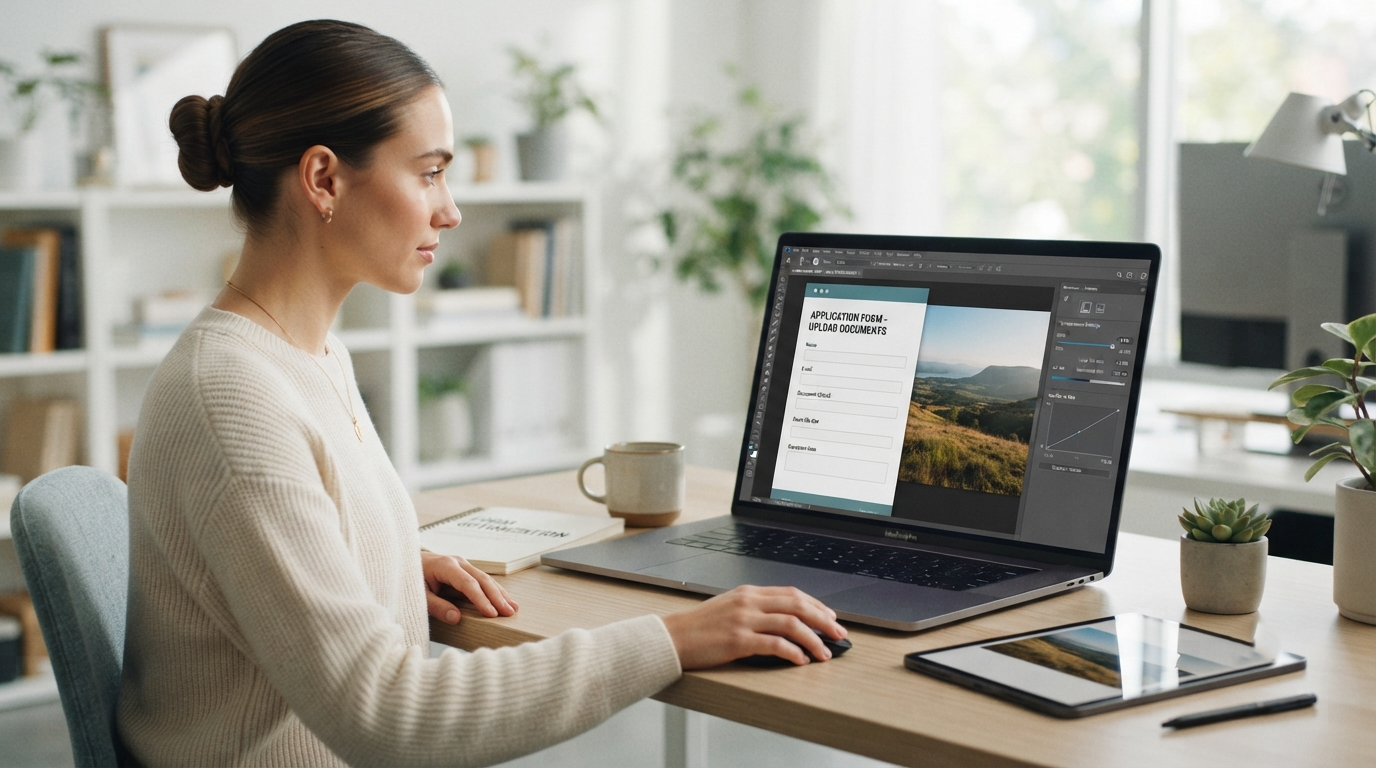
Learn how to reduce image size for online forms and applications without unnecessary quality loss. Follow simple steps and use an online Image Compressor.
Read guide →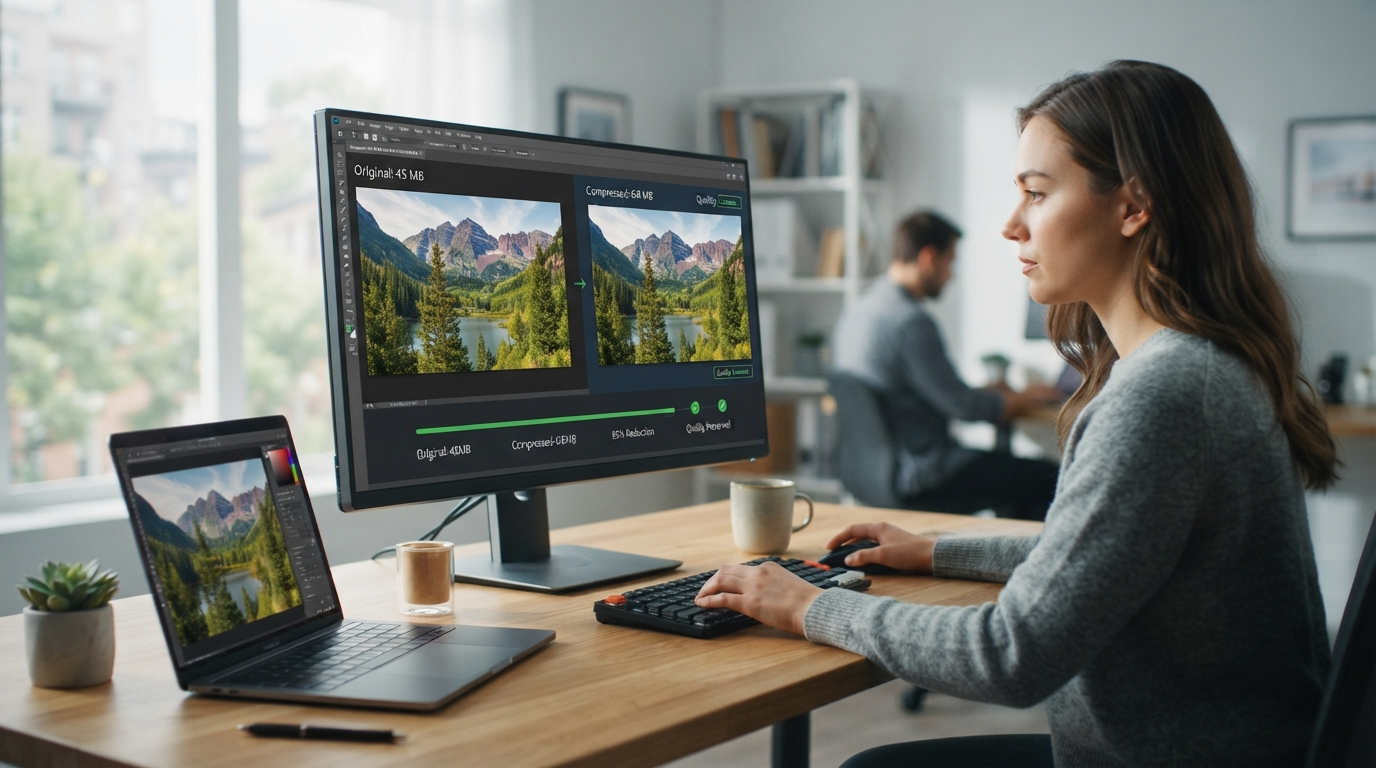
Learn how to compress images without losing quality using the best tools and techniques. Improve website speed, SEO, and user experience effortlessly.
Read guide →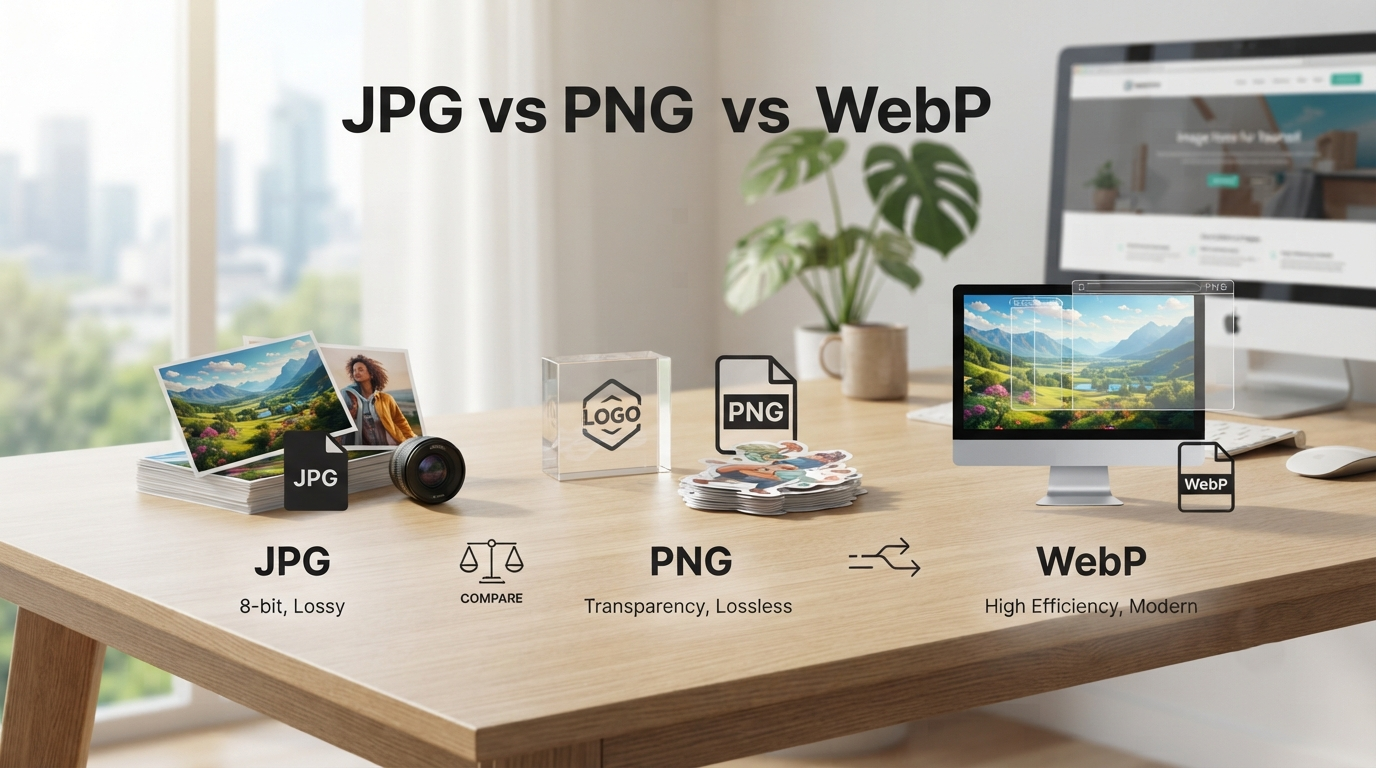
Compare JPG, PNG, and WebP image formats to learn which is best for photos, graphics, transparency, and web performance.
Read guide →